
How Do I Add Google Ads to My Website?
Adding Google Ads to your website can be a game-changer for your online business. It’s a powerful way to generate revenue by displaying targeted advertisements to your audience. Whether you’re a beginner or an experienced webmaster, this guide will walk you through the process step by step.
Step 1: Set Up a Google Ads Account

Before you can start displaying ads on your website, you need to create a Google Ads account. Here’s how to do it:
- Go to the Google Ads website and click on “Start now.”
- Sign in with your Google account or create a new one.
- Enter your business information, including your business name, address, and contact details.
- Select the type of campaign you want to run (Search, Display, Shopping, etc.).
- Choose your budget and bidding strategy.
- Review and agree to the terms and conditions.
Step 2: Create an Ad Group

An ad group is a collection of ads that share a common theme or goal. To create an ad group:
- Click on the “Campaigns” tab in your Google Ads account.
- Click on the “Create campaign” button.
- Select the campaign type you want to run (e.g., Search, Display).
- Enter a name for your campaign and select your target audience.
- Click on “Next.”
- Choose your ad group settings, including the ad group name and targeting options.
- Click on “Save and continue.”
Step 3: Create Your Ads
Now it’s time to create your ads. You can choose from different ad formats, such as text, image, or video ads. Here’s how to create a text ad:
- Click on the “Ads & extensions” tab in your Google Ads account.
- Click on the “Create ad” button.
- Select the ad type you want to create (e.g., Search, Display).
- Enter your ad title, description, and display URL.
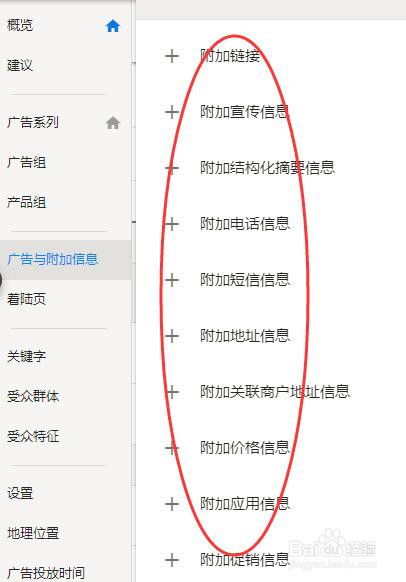
- Choose your ad extensions (e.g., sitelinks, callout extensions).
- Review your ad and click on “Save and continue.”
Step 4: Add the Google Ads Code to Your Website
Once you’ve created your ads, you need to add the Google Ads code to your website. This code will allow Google to display your ads on your site. Here’s how to do it:
- Go to the “Ads & extensions” tab in your Google Ads account.
- Click on the ad group you want to add the code to.
- Click on the “Ad group settings” tab.
- Under the “Ad formats” section, click on “Get code.”
- Copy the code provided by Google.
- Paste the code into the HTML of your website where you want the ads to appear.
Step 5: Monitor and Optimize Your Ads
Once your ads are live, it’s important to monitor their performance and make adjustments as needed. Here are some tips for optimizing your Google Ads:
- Use Google Ads’ built-in tools to track your ad performance.
- Adjust your keywords and bidding strategy based on your ad’s performance.
- Test different ad formats and copy to see what resonates best with your audience.
- Keep an eye on your budget and make sure you’re not overspending.
By following these steps, you’ll be well on your way to adding Google Ads to your website and generating revenue from your online presence. Remember, the key to success with Google Ads is to continuously monitor and optimize your campaigns to ensure they’re delivering the best possible results.
Table: Google Ads Ad Formats
Ad Format
Related Posts get money by playing games online,Understanding the ConceptUnderstanding the Co…   how to make money off instagram meme page,Understanding the Instagram Meme PageUnderstanding the In… |
|---|